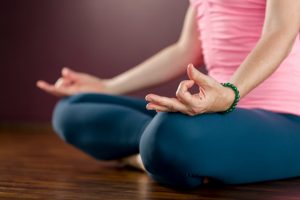
Introduction to Standing Yoga Poses
Most people picture yoga as someone folded into a shape no human should be able to reach. Then they walk into a first class, and the teacher says, “Let’s begin by standing.” Standing? That is the whole thing? For a moment it feels almost too simple.
It is not. Standing poses are where yoga quietly teaches you everything else: how to place your feet, how to find your balance, how to breathe while your legs work, and how to stay present when a pose becomes uncomfortable. They are also the poses most beginners can start with today, in a small space, without props.
This guide walks you through twelve foundational standing yoga poses with their Sanskrit names, clear set-up steps, common mistakes and gentler variations. It also covers safety, three simple sequences, what the research says and how to keep going once the novelty wears off. If you later want a teacher in the room, there is a section on how Nepal Yoga Institute teaches and what its programmes involve, using the days and costs it publishes.
What Standing Yoga Poses Are, and Why They Come First
Standing poses are yoga postures (asanas) practised on your feet. Some are strong and grounding, such as Warrior II. Some are quiet and precise, such as Mountain Pose. Some challenge balance, such as Tree Pose. Many classes begin with them because they wake up the legs, open the hips and shoulders, and build the heat and focus that later poses rely on.
For a beginner, they offer several clear advantages:
- They are familiar. You already know how to stand, so you can focus on how rather than on how to get into an unfamiliar shape.
- They build the base. Strong, aware legs and feet support almost everything else in yoga, including seated and floor postures.
- They teach alignment. Learning to stack your joints and spread your weight evenly is a skill that carries into walking, lifting and sitting at a desk.
- They are scalable. Almost every standing pose can be made easier with a wall, a chair or a block, or made harder by holding longer.
- They train attention. Balancing on one leg shows you immediately when your mind has wandered.
Think of standing poses as the grammar of yoga. Once you can do them with care, the rest of the language comes more easily. If you are wondering whether this will be too hard, the guide on whether Hatha yoga is hard answers that worry honestly, and it is a useful companion to what follows.
Before You Start: Ground Rules for Safe Practice
A few habits keep standing practice safe and pleasant. Read them once, then return to them whenever something feels off.
Set up your space. Use a flat, non-slip surface. A yoga mat is ideal, and bare feet give the best grip. Keep a wall or sturdy chair within reach for balance practice. Leave enough room to stretch your arms and legs wide.
Warm up gently. A few minutes of walking on the spot, shoulder rolls and gentle side bends prepare the body. Cold muscles and joints do not like sudden deep stretching.
Protect your knees. In every pose where a knee bends, keep it pointing in the same direction as your toes. Do not let it collapse inward or drift far beyond your ankle. In poses where the leg is straight, keep a very slight softness in the knee rather than forcing it back hard.
Respect your back. In forward folds, hinge from the hips and bend your knees as much as you need to. A rounded, strained back is not a deeper stretch, only a more stressed one.
Tell the difference between sensation and pain. A stretching or working feeling in the muscles is normal. Sharp, pinching or joint pain is a signal to ease off or come out.
Come up slowly. Standing forward folds and wide-legged folds can make some people light-headed when they rise. Rise gradually, with your head last.
Check with a professional when needed. If you are pregnant, have high blood pressure, an eye condition such as glaucoma, a heart condition, joint problems, recent surgery or ongoing pain, speak to your doctor before starting. Yoga is generally considered low-risk when practised sensibly, as the U.S. National Center for Complementary and Integrative Health explains in its overview of yoga’s effectiveness and safety, but that does not replace personal medical advice.
Breathe. If you cannot breathe smoothly through the nose, you have probably gone too far. Back off a little.
The Twelve Poses at a Glance
| # | English name | Sanskrit name | Main focus | Difficulty |
|---|---|---|---|---|
| 1 | Mountain | Tadasana | Alignment, awareness | Easy |
| 2 | Chair | Utkatasana | Legs, core | Easy to moderate |
| 3 | Standing Forward Fold | Uttanasana | Hamstrings, back release | Easy |
| 4 | Warrior I | Virabhadrasana I | Legs, chest, hips | Moderate |
| 5 | Warrior II | Virabhadrasana II | Legs, hips, stamina | Moderate |
| 6 | Warrior III | Virabhadrasana III | Balance, strength | Moderate to challenging |
| 7 | Triangle | Trikonasana | Side body, hamstrings | Moderate |
| 8 | Extended Side Angle | Utthita Parsvakonasana | Legs, side body | Moderate |
| 9 | Wide-Legged Forward Fold | Prasarita Padottanasana | Inner legs, hamstrings | Easy to moderate |
| 10 | Tree | Vrksasana | Balance, focus | Moderate |
| 11 | Goddess | Utkata Konasana | Hips, legs | Moderate |
| 12 | Eagle | Garudasana | Balance, shoulders, hips | Challenging |
The Poses, Step by Step
1. Mountain Pose (Tadasana)
This is the blueprint for every other standing pose, and it is far from “just standing.”
How to do it:
- Stand with your feet hip-width apart, or together if you prefer. Spread your toes and let your weight settle evenly across both feet, from the base of the big toe to the little toe and back to the heel.
- Lift the kneecaps gently without locking the knees.
- Let your tailbone point toward the floor and stack your ribs over your pelvis.
- Relax your shoulders away from your ears, let your arms hang with palms facing forward, and lengthen the back of your neck.
- Breathe slowly for five to ten breaths and notice any lean to one side.
Common mistakes: gripping the knees, tipping the chest back, or letting the weight sink into the heels. Easier version: stand with your back against a wall to feel your alignment.
2. Chair Pose (Utkatasana)
A strong, simple pose that wakes the legs and trains you to hold effort without tension.
How to do it:
- From Mountain Pose, bend your knees and sit your hips back as if lowering into a chair.
- Keep your weight in your heels, with your knees tracking over your toes.
- Lean your torso slightly forward and lift your arms overhead, or bring your hands together at your chest.
- Keep your ribs from flaring and your neck relaxed.
- Hold for three to five breaths, then press into your feet to stand.
Common mistakes: knees pushed far ahead of the toes, or an exaggerated arch in the lower back. Easier version: a shallow bend, hands on your hips, or your back against a wall.
3. Standing Forward Fold (Uttanasana)
A calming fold that stretches the back of the legs and releases the spine.
How to do it:
- Stand with your feet hip-width apart.
- Hinge forward from the hips with a long spine, bending your knees as much as you need.
- Let your hands rest on your shins, on blocks or on the floor.
- Let your head and neck hang heavy.
- For a halfway lift, straighten your arms and lengthen your spine so your back is flat, then fold again.
- To come up, bend your knees, engage your core and rise slowly.
Common mistakes: rounding from the waist with locked knees, or bouncing. Easier version: a generous knee bend and hands on a chair or blocks. If your lower back is sensitive, keep your knees well bent.
4. Warrior I (Virabhadrasana I)
A strong pose for the legs, chest and hips.
How to do it:
- From Mountain Pose, step one foot back about a leg’s length. Turn the back foot out to roughly 45 degrees and ground the heel.
- Bend the front knee toward a right angle, keeping it above the ankle and pointing in line with the toes.
- Square your hips and chest toward the front of the mat.
- Lift your arms overhead, keeping your shoulders away from your ears.
- Hold for three to five breaths, then step back to Mountain Pose and repeat on the other side.
Common mistakes: a front knee that falls inward, a lifted back heel, or hips that stay turned to the side. Easier version: a shorter stance, hands on hips, or a slightly higher back heel.
5. Warrior II (Virabhadrasana II)
The pose many people associate with yoga, and a great teacher of stamina and steadiness.
How to do it:
- Stand with your feet wide apart, roughly a leg’s length or a little more.
- Turn your front foot straight ahead and your back foot slightly in, so it points almost along the short edge of the mat. Line up your front heel with the arch of your back foot.
- Bend your front knee over the ankle, tracking toward the middle toes.
- Open your hips and chest toward the side of the mat, keeping your torso centred between your legs rather than leaning forward.
- Extend your arms parallel to the floor and gaze over your front hand.
- Hold for three to five breaths, then switch sides.
Common mistakes: the front knee collapsing inward, or leaning the upper body over the front thigh. Easier version: a shorter stance, or resting your hands on your hips.
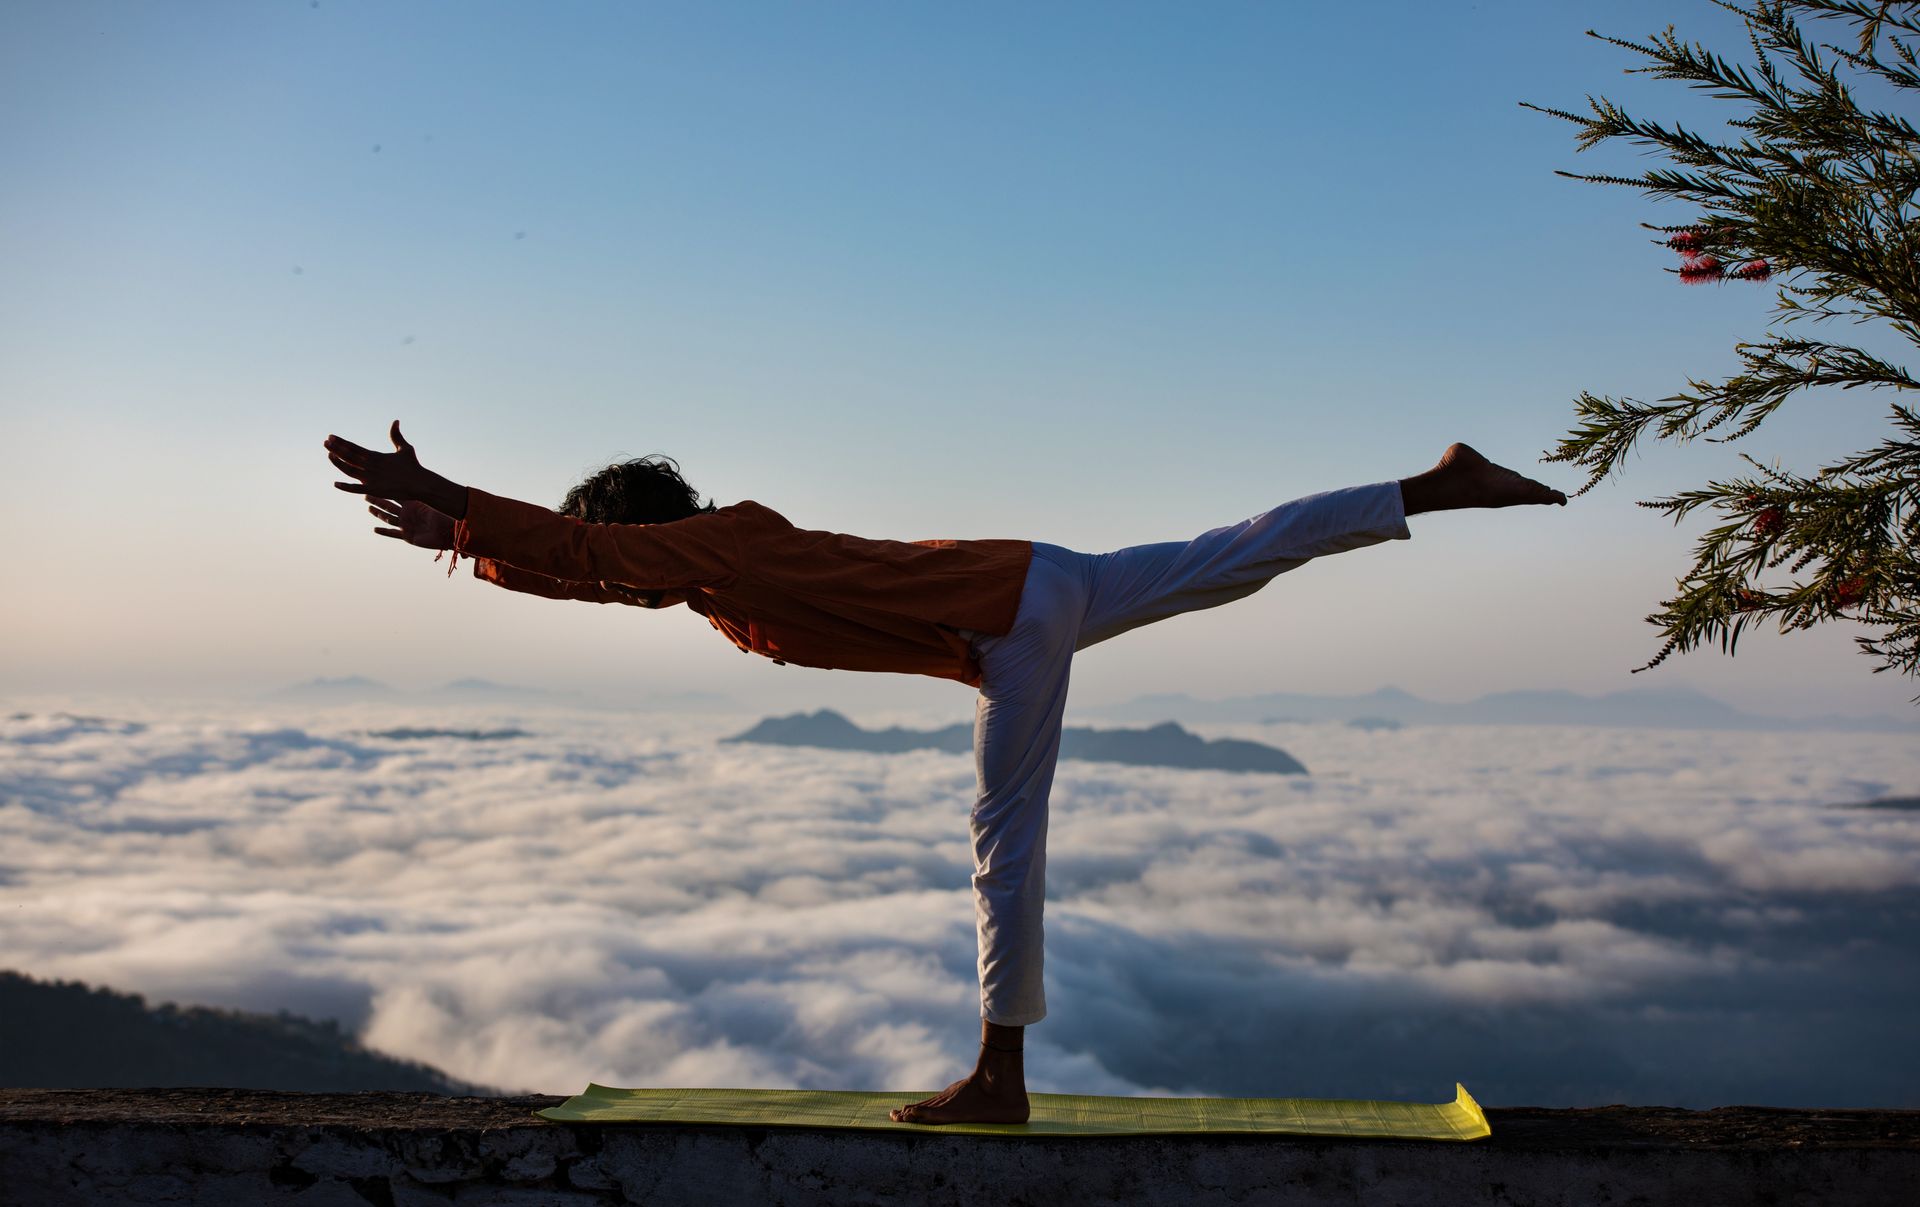
6. Warrior III (Virabhadrasana III)
A balance-and-strength pose that is best tackled once you are comfortable with Warrior I.
How to do it:
- Begin in Warrior I, hands on your hips or at your chest.
- Shift your weight onto the front leg and begin to hinge forward as the back leg lifts.
- Aim to bring your torso and back leg toward parallel with the floor, with the lifted foot flexed and the toes pointing down.
- Keep your standing knee soft rather than locked, and keep your hips squared to the floor.
- Hold for a few breaths, then return to Warrior I and switch sides.
Common mistakes: a rotated hip, a locked standing knee, or forcing the back leg higher than your balance allows. Easier version: hands on a wall or the back of a chair, or keep the back toe lightly on the floor.
7. Triangle Pose (Trikonasana)
A long, open pose that stretches the side body and the back of the legs.
How to do it:
- Stand with your feet wide, front foot forward and back foot angled slightly in.
- Extend your arms to the sides and reach forward over your front leg as though sliding along a wall.
- Lower your front hand to your shin, a block or the floor, never directly onto the knee joint.
- Lift your top arm toward the ceiling and keep both sides of your waist long.
- Keep your legs strong but not locked, and gaze forward, up or down, whichever feels comfortable for your neck.
- Hold for three to five breaths, then switch sides.
Common mistakes: collapsing the chest toward the floor, or hanging weight on the front leg. Easier version: a block under your front hand, or a chair seat.
8. Extended Side Angle (Utthita Parsvakonasana)
A deeper cousin of Warrior II that builds strength and lengthens the sides.
How to do it:
- From Warrior II, keep your front knee bent over your ankle.
- Lower your front forearm onto your thigh, or your hand onto a block or the floor beside your foot.
- Reach your top arm over your ear, forming one long line from your back foot to your fingertips.
- Turn your chest gently toward the ceiling without straining your neck.
- Hold for three to five breaths, then press back up and switch sides.
Common mistakes: dumping weight into the front arm, or letting the knee fall inward. Easier version: forearm resting on the thigh, top hand on the hip.
9. Wide-Legged Forward Fold (Prasarita Padottanasana)
A grounding fold that eases the inner legs and hamstrings.
How to do it:
- Stand with your feet wide, toes pointing forward or slightly in.
- Place your hands on your hips and lengthen your spine.
- Hinge from the hips and fold forward, bending the knees slightly if the back of your legs feel tight.
- Place your hands on the floor or on blocks, and let your head hang.
- Come up slowly with a long spine, hands on your hips.
Common mistakes: rounding the back or locking the knees. Easier version: hands on blocks or a chair seat. If you feel dizzy, rise more slowly.
10. Tree Pose (Vrksasana)
A classic balance pose that trains steadiness and focus.
How to do it:
- Stand tall with your weight on one foot.
- Place the sole of the other foot on your inner calf or inner thigh, never directly on the knee.
- Press the foot and leg gently together and bring your hands to your chest.
- Fix your gaze on a still point at eye level.
- Hold for several breaths, then switch sides.
Common mistakes: pressing the foot into the side of the knee, or gripping with the toes. Easier version: rest your toe on the floor beside your standing foot, or place one hand lightly on a wall.
11. Goddess Pose (Utkata Konasana)
A strong, open stance that works the legs and hips.
How to do it:
- Step your feet wide and turn your toes out gently, about 45 degrees.
- Bend both knees over your ankles, keeping them aligned with your toes.
- Keep your pelvis neutral and your torso upright.
- Bring your hands to your chest, or bend your elbows with palms facing forward.
- Hold for three to five breaths, then straighten the legs to release.
Common mistakes: knees dropping inward, or tipping the torso forward. Easier version: a shallow bend with your hands on your thighs.
12. Eagle Pose (Garudasana)
A challenging balance pose that is best attempted after the others feel familiar.
How to do it:
- Bend both knees slightly and shift weight onto one leg.
- Cross the other thigh over the standing leg. If you can, hook the foot behind the calf. Otherwise, rest the toes on the floor.
- Cross your arms, one elbow under the other, and wrap your forearms or hold opposite shoulders.
- Sink your hips back, lift your elbows and keep your shoulders away from your ears.
- Hold for a few breaths, unwind, and switch sides.
Common mistakes: twisting the standing knee or holding the breath. Easier version: keep your toes on the floor and hug yourself with your arms. If you have a knee problem, skip this pose or consult a teacher first.
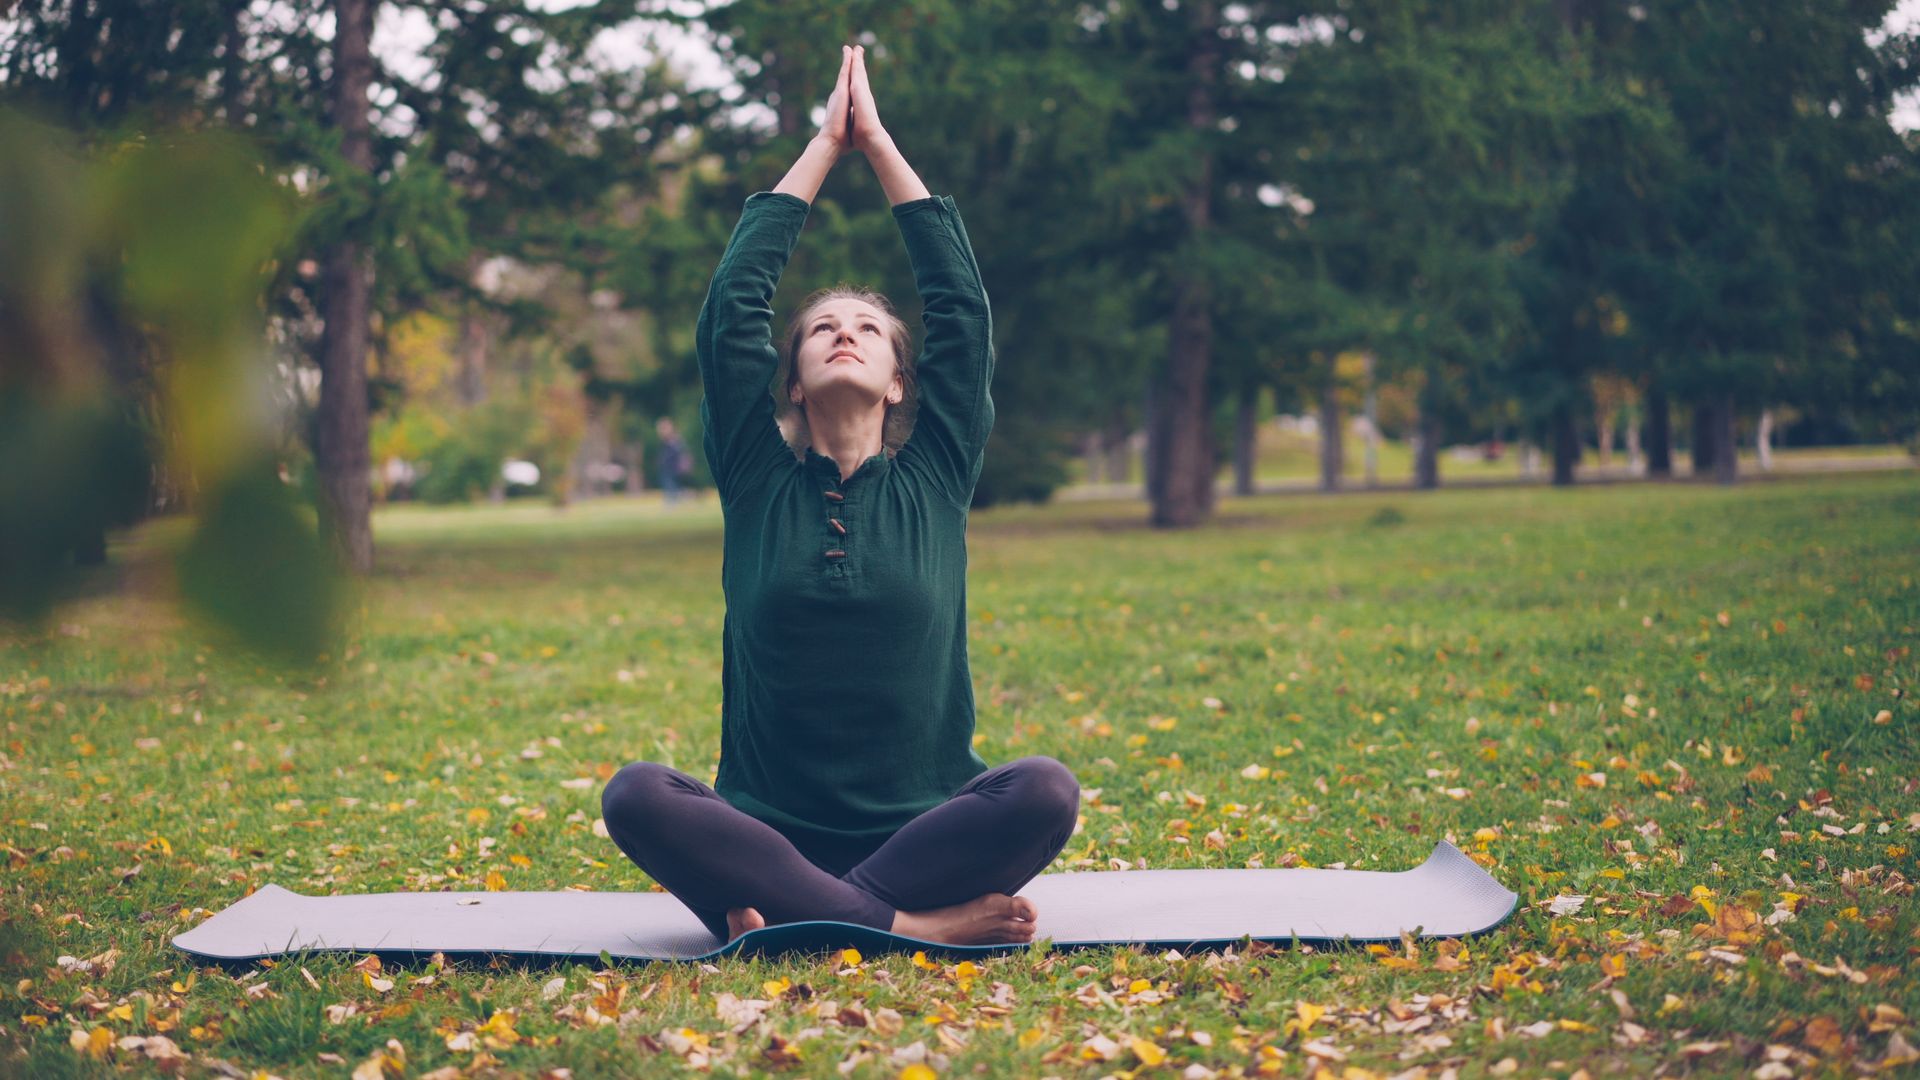
Breath, Holds and Gaze: Making the Shapes Work
The poses above only become yoga when breath and attention join in.
Breathing. Breathe smoothly through the nose, with the exhale slightly longer than you might expect. Let the inhale lift and lengthen you, and the exhale settle you deeper into the pose. If your breath becomes ragged, you are working too hard.
Holding. A common beginner guideline is to hold each pose for three to five breaths, and to lengthen the holds slowly as you gain strength. Resting between poses in Mountain Pose helps you reset.
Gaze. In yoga, a steady gaze point is called drishti. In balance poses such as Tree and Warrior III, resting your eyes on one still spot makes balance easier, because a wandering gaze means a wandering body.
Attention. If your mind drifts, notice it and return to your feet. This simple act is the heart of what the practice teaches. For a plain-language introduction to training attention, the explanation of mindfulness is a useful starting point.
Three Beginner Sequences You Can Use Today
Putting poses in order removes the guesswork. Always practise both sides where the pose has sides, and rest in Mountain Pose whenever you need to.
Sequence A: Ten-minute morning reset
| Order | Pose | Hold |
|---|---|---|
| 1 | Mountain Pose | 5 breaths |
| 2 | Chair Pose | 3 to 5 breaths |
| 3 | Standing Forward Fold | 5 breaths |
| 4 | Halfway lift and fold | 3 rounds |
| 5 | Warrior II (each side) | 3 breaths |
| 6 | Mountain Pose | 5 breaths |
Sequence B: Twenty-minute strength and stretch
| Order | Pose | Hold |
|---|---|---|
| 1 | Mountain Pose | 5 breaths |
| 2 | Standing Forward Fold | 5 breaths |
| 3 | Warrior I (each side) | 3 to 5 breaths |
| 4 | Warrior II (each side) | 3 to 5 breaths |
| 5 | Extended Side Angle (each side) | 3 breaths |
| 6 | Triangle (each side) | 3 to 5 breaths |
| 7 | Wide-Legged Forward Fold | 5 breaths |
| 8 | Goddess Pose | 3 to 5 breaths |
| 9 | Mountain Pose | 5 breaths |
Sequence C: Balance and focus
| Order | Pose | Hold |
|---|---|---|
| 1 | Mountain Pose | 5 breaths |
| 2 | Tree Pose (each side) | 5 breaths |
| 3 | Warrior III (each side, with wall) | 3 breaths |
| 4 | Eagle Pose (each side, toe on floor if needed) | 3 breaths |
| 5 | Standing Forward Fold | 5 breaths |
| 6 | Mountain Pose | 5 breaths |
Notice that every sequence begins and ends in Mountain Pose. That small habit gives you a before-and-after comparison, and it is surprising how different the same pose can feel at the end.
Props and Modifications: Making Poses Work for Your Body
Props are not training wheels. They are tools that let you place your body well while you build strength and flexibility.
| Prop | Helps with | Example |
|---|---|---|
| Wall | Balance and alignment | Back against the wall in Mountain Pose; hand on the wall in Tree or Warrior III |
| Chair | Support and stability | Hands on the seat in Standing Forward Fold; sit-to-stand practice for Chair Pose |
| Blocks | Bringing the floor closer | Under the hand in Triangle or Wide-Legged Forward Fold |
| Strap or belt | Reach and alignment | Holding a leg or connecting the hands when shoulders are tight |
| Folded blanket | Cushioning | Under the knees or feet for comfort and stability |
If you do not own blocks, two sturdy books can stand in. A belt can replace a strap. The goal is a stable shape you can breathe in.
What the Research Says About Standing Practice
It is tempting to overpromise about yoga, so here is what the evidence actually supports.
On stress, the NCCIH overview notes that of 17 studies included in a 2014 review, 12 showed improvements in physical or psychological measures related to stress. On chronic low-back pain, the same source points to a slight benefit compared with no exercise. Serious injuries are uncommon.
On balance, a systematic review of randomised trials of physical yoga in adults aged 60 and over, published in Age and Ageing, found a small improvement in balance (six trials) and a medium improvement in physical mobility (three trials). The authors were careful to say that more research is needed to show whether these improvements translate into fewer falls. In other words, standing poses can help you feel steadier, but nobody should promise that they prevent falls.
What this means for you is practical. Standing poses are a reasonable way to challenge balance, strengthen the legs and build body awareness, with the benefits showing up as better steadiness and movement rather than as miracle cures. If you want a broader view of how daily practice supports wellbeing, the article on ten health benefits of yoga in daily life offers a friendly overview.
Common Beginner Mistakes and How to Fix Them
| Mistake | Why it matters | Fix |
|---|---|---|
| Locking the knees | Strains the joint | Keep a micro-bend in straight legs |
| Rounding the back in folds | Stresses the spine | Hinge at the hips and bend the knees |
| Knee falling inward in lunges and squats | Strains the knee | Point the knee toward the middle toes |
| Holding the breath | Raises tension | Breathe steadily; soften the pose |
| Comparing yourself to others | Fuels strain and frustration | Practise your own version |
| Skipping rest | Leads to fatigue and poor form | Pause in Mountain Pose between poses |
| Pushing through pain | Risks injury | Back off at the first sharp or pinching sensation |
| Practising only the poses you like | Leaves gaps in strength | Rotate through the sequences |
Most of these come from one root cause: trying too hard too soon. A calm, slightly easier pose done well beats an ambitious one done badly.
Standing Poses in Hatha and Ashtanga
You will meet standing poses in almost every style, but they feel different depending on the tradition.
In Hatha classes, standing poses are often taught slowly and held, with time to explore alignment and rest between poses. For beginners this is usually the most approachable way to learn, which is why the guide to a Hatha yoga class for beginners is a good next read.
In Ashtanga, standing poses form the opening of a set sequence practised in a steady rhythm. The method rewards consistency and suits people who like clear structure. The introduction to the Ashtanga series for beginners explains how that approach works.
Neither style is better. Pick the one you can picture practising on a tired Tuesday.
Building a Weekly Routine That Lasts
Consistency matters more than intensity. A realistic weekly rhythm for a beginner might look like this:
| Day | Practice |
|---|---|
| Monday | Sequence A (ten minutes) |
| Tuesday | Rest, or a short walk |
| Wednesday | Sequence B (twenty minutes) |
| Thursday | Rest, or gentle stretching |
| Friday | Sequence C (balance and focus) |
| Saturday | A longer practice or a class with a teacher |
| Sunday | Rest |
Adjust it to your life, and expect the occasional missed day. The aim is not perfection but returning.
If home practice feels lonely or you want feedback, a live class helps. For people who cannot attend in person, the guide to online yoga classes in Nepal explains how to choose a class, what formats exist and what to ask before you pay.
Learning Standing Poses With a Teacher: Nepal Yoga Institute
Books and videos can teach you shapes. A teacher teaches you your shapes, noticing the knee that drifts or the shoulder that creeps up, and correcting it before it becomes a habit.
Nepal Yoga Institute and Retreat is a residential yoga school at Budhanilkantha-11, on the northern edge of the Kathmandu Valley, below Shivapuri National Park. According to the institute, it is about 22 kilometres from Tribhuvan International Airport and 24 kilometres from Thamel. Its programmes are residential, so classes take place inside structured programmes rather than as drop-in sessions.
For a beginner who wants to feel standing practice inside a daily rhythm, the institute’s published five-day yoga retreat programme is the gentlest way in. Its schedule on days two to four includes mantra singing and pranayama at 7:15, followed by an hour of asana practice from 8:00 to 9:00, with relaxation, Ayurveda massage and a second yoga and meditation session in the afternoon. The retreat is five days long, its price is calculated on request according to group size, and the institute states a non-refundable deposit of 20% of the package, with full payment on arrival.
For students who want to study yoga properly, the 200-hour yoga teacher training runs for 22 days at a published complete cost of $1,400. A $200 non-refundable deposit is paid in advance, with the balance due on orientation day in Nepal. Courses start on the 15th of every month and take up to 14 students. According to the institute’s FAQ, the fee covers all meals and tea, training materials and shared accommodation, while transport is not included. The curriculum lists Hatha yoga, Ashtanga yoga, the eight limbs of yoga, anatomy and physiology, Ayurveda and mudras, among other subjects.
The institute describes itself as a Yoga Alliance USA registered school. If registration matters to you, you can learn how the credential works on Yoga Alliance’s RYT 200 page and verify a school’s listing yourself. Applications at the institute are processed within three working days and confirmed by email.
You do not have to become a teacher to benefit. Many people simply want to learn to stand, breathe and move well, with someone watching kindly.
Twenty Questions People Ask About Standing Yoga Poses
1. What are standing yoga poses?
Standing yoga poses are asanas practised on your feet, such as Mountain Pose, Warrior II, Triangle and Tree Pose. They build leg strength, balance and body awareness and often open a class.
2. Which standing yoga poses are best for beginners?
Mountain Pose, Chair Pose, Standing Forward Fold, Warrior I and II, Triangle, Tree and Wide-Legged Forward Fold are good starting points. Begin with simple versions and add harder poses such as Warrior III and Eagle later.
3. How long should I hold standing yoga poses?
A common beginner guideline is three to five breaths per pose, lengthening gradually as your strength and comfort grow. If your breath becomes strained, come out of the pose.
4. How often should beginners practise standing poses?
Two to four short sessions a week is a realistic start. Even ten minutes helps, and regular practice beats occasional long sessions.
5. Are standing yoga poses good for balance?
They can help. A systematic review of trials in adults aged 60 and over found a small improvement in balance from physical yoga, though it did not show that yoga prevents falls. Use a wall or chair for support while you build confidence.
6. Why is Mountain Pose so important?
It teaches the basic alignment used in every other standing pose: even weight through the feet, stacked joints and a lengthened spine. Practising it carefully makes other poses safer.
7. How do I protect my knees in standing poses?
Keep bent knees pointing in the same direction as your toes, avoid letting them collapse inward, and keep a slight softness in straight legs. Skip or modify any pose that causes joint pain.
8. Can I practise standing poses with back pain?
Many people do, but speak to a doctor first. In forward folds, bend your knees generously and hinge from the hips. Research summarised by NCCIH suggests a slight benefit for chronic low-back pain, but it is not a substitute for medical care.
9. What is the difference between Warrior I and Warrior II?
In Warrior I, the hips and chest face the front of the mat and the arms lift overhead. In Warrior II, the hips and chest open toward the side, the arms extend parallel to the floor and the back foot is more parallel to the short edge of the mat.
10. Why do my legs shake in Warrior or Chair Pose?
Shaking usually means your muscles are working hard, which is normal for beginners. Shorten the stance, reduce the bend or rest, and build up gradually.
11. Do I need props for standing poses?
No, but they help. A wall, chair, blocks or a belt make poses more accessible and keep alignment safe. Sturdy books can substitute for blocks.
12. How do I improve my balance in Tree Pose?
Fix your gaze on one still point, keep your standing foot grounded and place the lifted foot on the calf or thigh, never the knee. Resting the toe on the floor or a hand on a wall is perfectly fine.
13. Are standing yoga poses safe during pregnancy?
Only with medical approval and ideally a teacher trained in prenatal yoga. Some poses need modification during pregnancy, so tell your teacher before class and follow your doctor’s advice.
14. Can standing poses help with stress?
Yoga as a whole can help. NCCIH notes that of 17 studies in a 2014 review, 12 showed improvements in measures related to stress. Slow breathing and steady attention inside standing poses are part of that effect.
15. Should I do standing poses before or after seated poses?
Standing poses usually come earlier, because they warm the legs and hips and build focus. Finish with gentle folds and rest.
16. Is it normal to feel stiff or sore afterwards?
Mild muscle soreness for a day or two is common after working the legs in new ways. Sharp, lingering or joint pain is not normal, and you should ease off or seek advice.
17. What should I wear for standing yoga?
Comfortable, stretchy clothing that lets you bend and move freely. Practise barefoot on a non-slip surface for the best grip.
18. Can I learn standing poses from videos?
Yes, for the basics. A teacher adds something videos cannot: personal correction. Consider an occasional class to check your alignment.
19. How much does a teacher-led programme cost at Nepal Yoga Institute?
The 200-hour yoga teacher training lasts 22 days and costs $1,400, with a $200 non-refundable deposit and the balance due on orientation day. The five-day retreat has no fixed published price. It is calculated on request according to group size.
20. How can I contact Nepal Yoga Institute?
You can message the team on WhatsApp, email info@nepalyogainstitute.com or use the contact page. The institute lists a contact line available around the clock.
Ready to Take Your Practice Further?
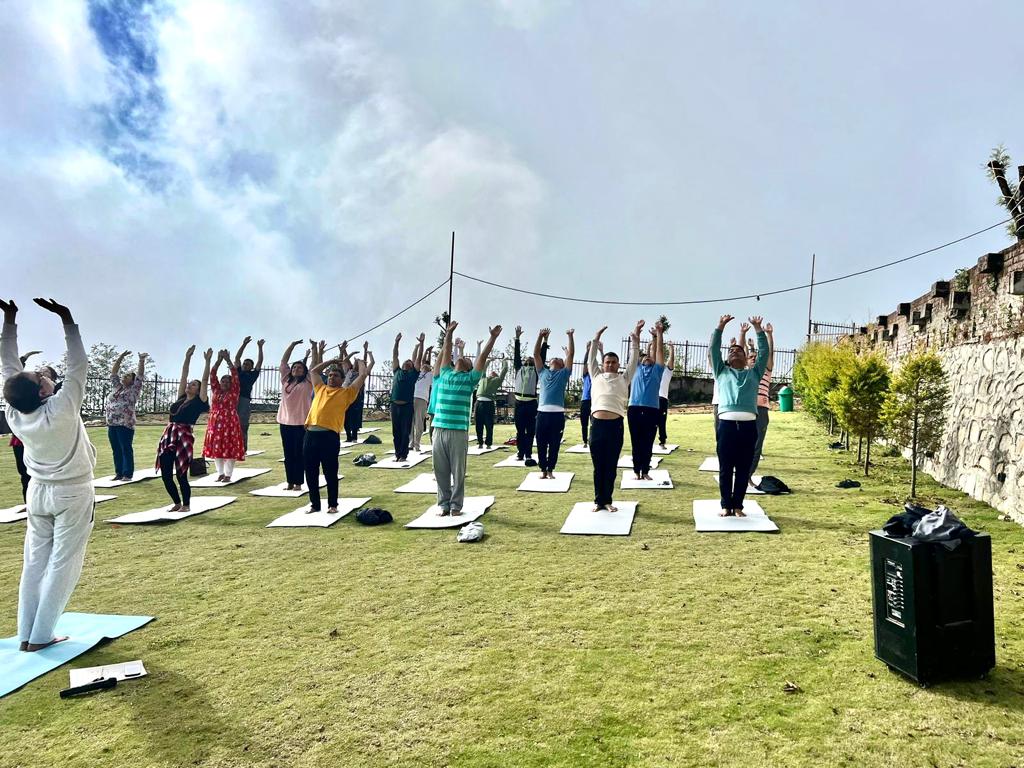
Standing poses are simple to begin and rich enough to study for a lifetime. If you would like to learn them with a teacher watching kindly, or to see what a few days of daily practice feels like, start with a message. Tell the team how long you can stay, how many people are coming and what you would like to learn, and ask which programme suits you.